
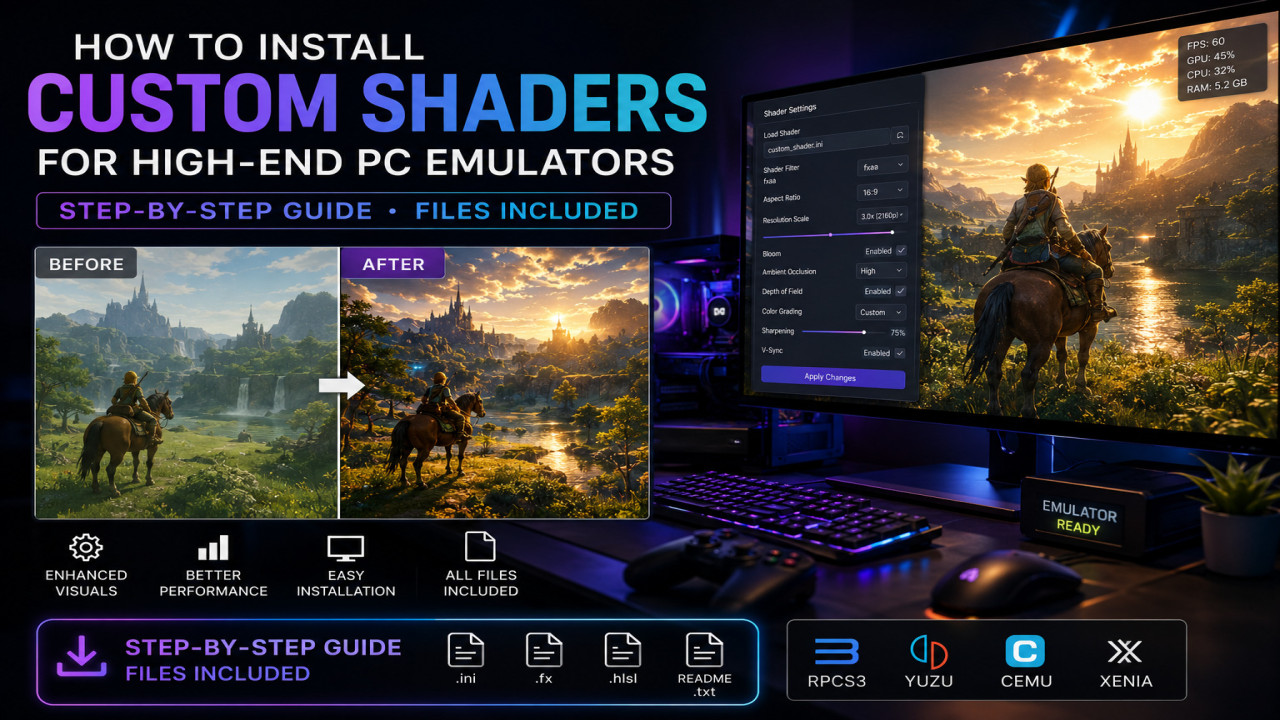
How to Install Custom Shaders for High-End PC Emulators: Step-by-Step Files Included
The first time many gamers launch a classic console game through a PC emulator, the excitement is often mixed with disappointment. The gameplay may be nostalgic, but the visuals can appear flat, blurry, or outdated on modern displays. Suddenly, the dream of reliving a favorite title loses some of its magic.
That is where custom shaders for PC emulators make a dramatic difference. Instead of accepting default graphics, shaders allow players to transform retro visuals into cinematic experiences with improved lighting, scanlines, color correction, texture filtering, and advanced post-processing effects.
Whether you use RetroArch, PCSX2, RPCS3, Dolphin, PPSSPP, or other high-end emulators, learning how to install and optimize shaders can significantly elevate visual quality.
This step-by-step guide explains how custom shaders work, how to install them, common problems users encounter, and how to optimize performance for the best emulator experience.
What Are Custom Shaders in PC Emulators?
Shaders are graphical programs that modify how images are rendered on screen. In emulators, they apply visual effects that improve or stylize game graphics.
Common shader effects include:
- CRT scanlines
- Bloom lighting
- Sharpening filters
- Anti-aliasing
- Color grading
- Pixel smoothing
- HDR-style enhancements
- Retro television simulation
Instead of changing game files directly, shaders alter image processing in real time.

Why High-End Emulator Users Prefer Custom Shaders
Modern gaming monitors and GPUs reveal the limitations of older console graphics. While emulators already improve resolution and frame rates, shaders provide the finishing layer of realism and artistic enhancement.
Benefits include:
- Improved visual immersion
- Cleaner image quality
- Authentic retro display simulation
- Enhanced lighting effects
- Personalized graphics style
- Higher-quality screenshots and recordings
For enthusiasts and content creators, shaders are often considered essential.
Popular Emulator Shader Types
CRT Shaders
Designed to mimic classic cathode-ray tube displays with scanlines and phosphor glow.
Pixel Enhancement Shaders
Reduce jagged edges and improve texture clarity.
Cinematic Shaders
Add bloom, depth, color grading, and cinematic atmosphere.
Performance-Friendly Shaders
Optimized for lower GPU usage while maintaining visual quality.
Comparison Table: Shader Categories
| Type | Price | Features | Advantages | Disadvantages | Compatibility |
|---|---|---|---|---|---|
| CRT Shader Packs | Free | Scanlines and glow | Authentic retro look | Higher GPU load | RetroArch, Dolphin |
| Visual Enhancement Packs | Free/Paid | Sharpening and bloom | Modern graphics feel | Requires tweaking | PCSX2, RPCS3 |
| Lightweight Shaders | Free | Basic filtering | High performance | Less dramatic visuals | Most emulators |
Step-by-Step Installation Guide
Installing shaders is generally straightforward, although folder locations vary depending on emulator software.
- Download Shader Files
Obtain compatible shader packs from trusted sources or emulator repositories. - Locate Emulator Directory
Open the emulator installation folder and find the shaders directory. - Extract Shader Package
Use ZIP extraction tools if required. - Copy Shader Files
Move shader files into the designated shaders folder. - Launch Emulator
Open graphics settings and navigate to shader options. - Load Shader Preset
Select the desired shader and preview visual changes. - Adjust Performance Settings
Fine-tune resolution scaling and filtering for stable FPS.
Symptoms of Incorrect Shader Installation
Shader problems often appear immediately after activation.
- Black screen
- Missing graphics
- Severe lag
- Graphical artifacts
- Shader load errors
- Unexpected crashes
These issues typically result from compatibility or configuration problems.
Common Causes of Shader Problems
- Incorrect shader folder placement
- Unsupported graphics API
- Outdated GPU drivers
- Overly demanding shader presets
- Emulator compatibility limitations
Many users assume the emulator is broken when the actual cause is shader misconfiguration.
Solutions and Troubleshooting
- Verify shader file paths
- Update GPU drivers
- Switch graphics backend (OpenGL, Vulkan, DirectX)
- Test lightweight shaders first
- Reset emulator graphics configuration
- Use recommended presets for your emulator
Testing one variable at a time is often the fastest troubleshooting strategy.
Common Mistakes Users Make
- Installing incompatible shader versions
- Applying heavy effects on weak hardware
- Skipping performance testing
- Ignoring emulator documentation
- Overstacking multiple shaders
More effects do not always mean better visuals. Balanced settings often deliver superior results.
Real-World Example
A Dolphin emulator user running GameCube classics upgraded from default rendering to a custom CRT shader combined with mild sharpening filters. The result was smoother edges, improved atmosphere, and a more authentic retro experience without major performance loss.
This illustrates how thoughtful shader selection can enhance gameplay without requiring expensive hardware upgrades.
💡 Expert Tip
Start with lightweight presets before moving to cinematic shader stacks. This helps identify performance bottlenecks and prevents unnecessary troubleshooting later.
Advanced Shader Optimization
Experienced emulator users often combine shaders with advanced graphics settings:
- Internal resolution scaling
- Anisotropic filtering
- Texture replacement packs
- Anti-aliasing profiles
- Frame pacing optimization
Together, these adjustments can create remarkably polished visuals.
Frequently Asked Questions (FAQ)
Q: Are emulator shaders safe?
Yes, when downloaded from trusted sources.
Q: Do shaders affect gameplay?
Only visually, although demanding shaders may reduce frame rates.
Q: Which emulator supports shaders best?
RetroArch is widely recognized for extensive shader compatibility.
Q: Can low-end PCs use shaders?
Yes, lightweight presets are available.
Final Thoughts
Custom shaders bridge the gap between nostalgic gameplay and modern visual expectations. They allow emulator users to personalize graphics, improve immersion, and unlock a richer gaming experience.
Whether you prefer authentic CRT effects or cinematic modern enhancements, learning how to install and optimize shaders gives you far more control over how classic games look and feel.


Comments (0)
No comments found